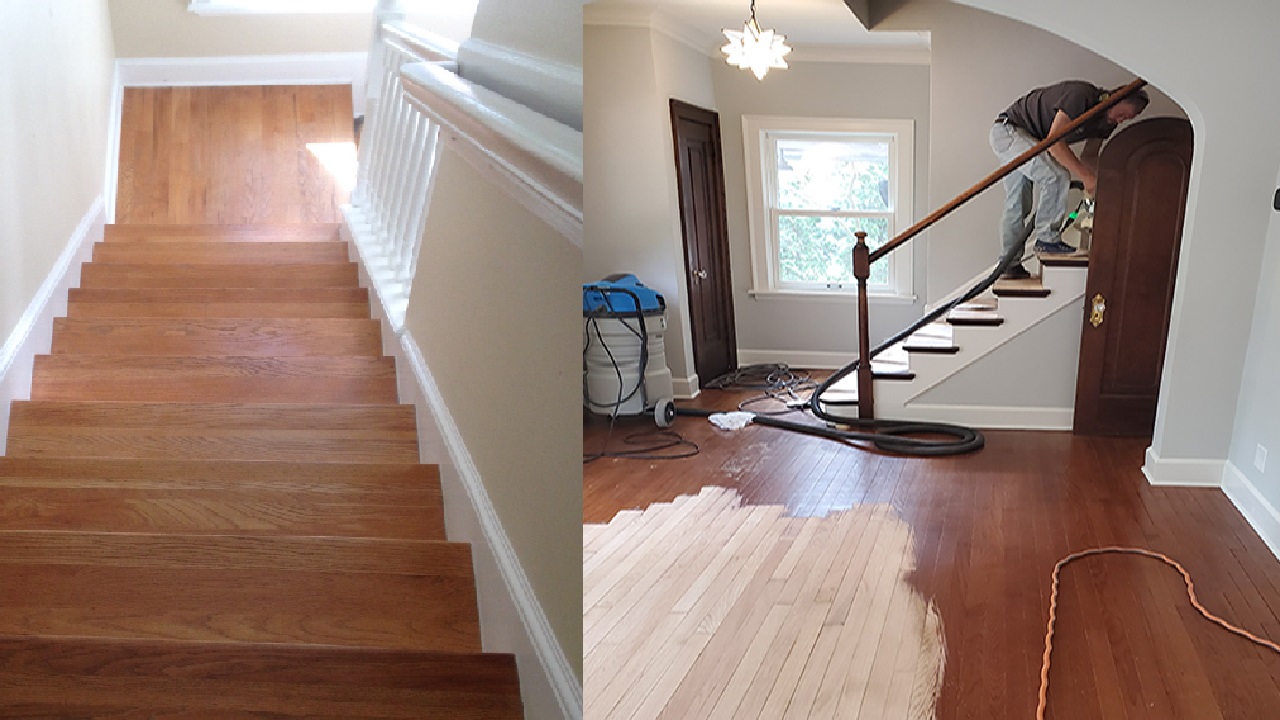
Wooden Floor and Stair Sanding: If you are looking to refurbish your wooden floor or staircase, you may be wondering whether it’s possible to do it yourself or to hire a professional. However, while sanding can be a fun DIY project, there are also a number of mistakes to avoid. Here, we’ve put together some tips to help you get the job done right.
Mistakes to avoid in sanding
Wooden floor and stair sanding can be a difficult task. Most floors aren’t flat, and a sander can’t get to all areas at once. Instead, it should make multiple passes until the entire surface is treated. Never stop sanding after the first or second pass. You should keep sanding until you get to the last bits.
Mishandling equipment can lead to costly mistakes. For example, over-sanding can result in a blotchy finish. Or, under-sanding can leave a dull finish. In addition, it’s important to change the sandpaper frequently.
Before sanding, always prepare the floor by vacuuming or mopping it with a slightly moist cloth. Make sure to vacuum around the edges of the floor to remove debris. Otherwise, the sender could cause gouges in the floor.
When sanding hardwood floors, it’s crucial to use the right sandpaper. Many people make the mistake of choosing the wrong grit. Different sandpapers are meant for different purposes. The best starting sandpaper is 24 grit. Choosing the right grit will save you time and money.
Equipment needed
Before starting your project, make sure you have all the right equipment. This includes a sanding machine, an edger, and a buffer/polisher. The sanding machine will sand most of the floor surface, and the edger will sand the edge around walls and other surfaces. A buffer/polisher will help you achieve a perfect finish. If you do not have the necessary equipment, you can hire one from a floor-sanding store.
Sanding tools: You can also use hand scrapers and sanding blocks. Sanding blocks are useful for reaching hard-to-reach places. When using hand scrapers, be sure to sand with the grain of the floor. You can also use a sanding block to blend the scraping marks with the rest of the floor. Avoid scraping with metal, as metal shavings can discolor the floor. Also, wear protective eyewear and NIOSH-approved organic vapor respirators.
A moisture meter is another essential piece of equipment. It helps to know the moisture content of the subfloor and the wood. The moisture meter will determine whether or not the wood is ready for sanding.
Cost
The cost of the wooden floor and stair sand-ing depends on the size and type of your wood floors. Generally, a project will cost between $2 and $3 per square foot. But this can vary widely, depending on the area. For example, a 300-square-foot kitchen could cost about $600 to $900. However, a 1,000-square-foot bottom floor could cost about $3,000 or more. In addition, small spaces are more expensive per square foot than larger spaces.
Whether you choose a DIY project or hire a professional like Plancher Newlook, you’ll want to estimate the total cost of your project. The price will include labor and materials. The best way to estimate the price is to look online for estimates and make a list of all costs.
Wooden floors come in many different types, and they all need special attention when refinishing. Some types are more forgiving than others. Wide-plank wood flooring, for example, is less prone to damage during the refinishing process. Likewise, hardwood floors with different grain directions are more likely to need more professional attention when sanding. However, most wood floors can be refinished by a professional, and the cost will likely not increase.
Drying time
The dry time for a wooden floor or stair sanding is determined by several factors. One important factor is humidity. When the weather is humid, the stain coats will take longer to dry. Additionally, different types of wood require different drying times. Some types of wood, such as parquet, maple, and pine, take longer to dry than others.
To minimize the drying time, watering a wooden floor can be done using standard plant watering. Make sure to spray water along the grain of the flooring. If you need to, you can use a T-bar to evenly distribute the water. Once the floor is wet, you should leave it to dry for two to four hours. During this time, you may notice the floor becoming gritty, which is a sign that the wood grain has reopened.
If you are sanding wood stairs or floors, make sure to apply the stain evenly across the surface. You can make this easier by water popping the wood. Water popping opens pores and increases the surface area for the stain to penetrate. For a more polished look, you can apply two coats of stain.


